If you spend any time around hardcore skiers or snowboarders, you’ll quickly pick up a new set of lingo that’s all about getting off the piste and into the backcountry – and it’s a whole different world, far beyond your basic skis, boots and poles.
This guide is for those who want to start wrapping their head around the backcountry basics, but are too embarrassed to admit to their hardcore friends that they don’t exactly know what they’re talking about.
Or maybe you want to venture in the backcountry, but don’t even know where to begin. Start here, then find local experts or guides that can introduce you to the backcountry wherever you ski or board – their knowledge (and guidance) is golden and life saving.
Avi kit
Safety is the first element of getting into the backcountry, because things can quickly go pear-shaped if you haven’t armed yourself with the right knowledge or gear. Your avalanche kit – or avalanche pack – is an essential for heading into the backcountry.
Do an avalanche course to learn the basics about the necessary equipment, then arm yourself with it all.
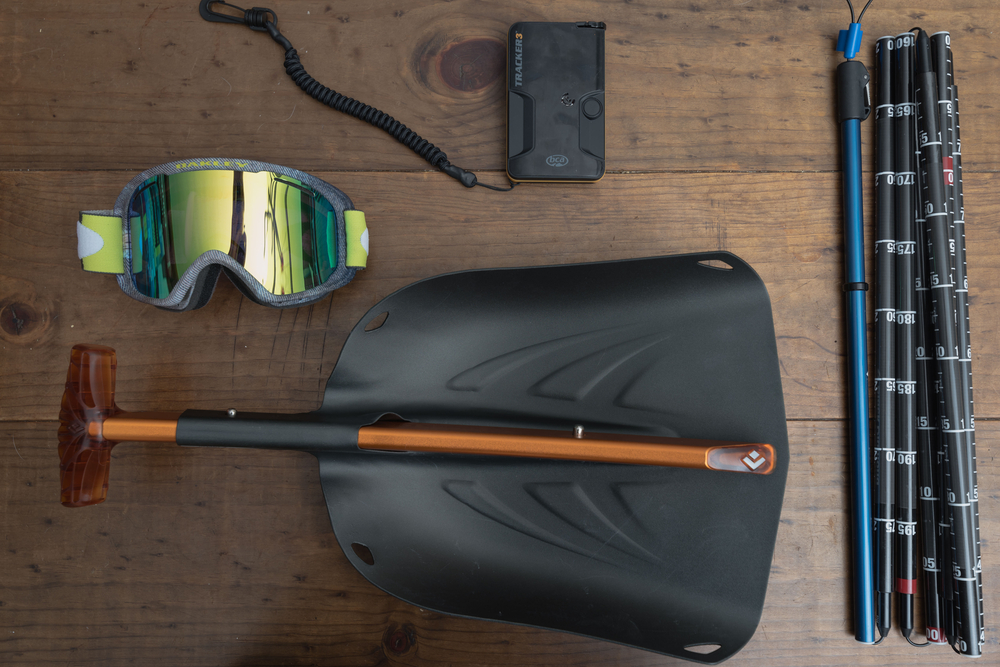
Avi kit basics include a beacon (a transmitting device for locating people buried in avalanches, or helping your companions locate you should you get buried), a probe (for probing around in the snow and finding people once you’ve located them with your beacon) and a shovel (for, obviously, digging them out).
Some people also have an air bag that they pull in the event of an avalanche so that they float to the top of the moving snow.
[srizonfbvidsingle id=1532374596776838]
Most people have all their avi kit in a backpack bag that also includes a lot of high-energy snacks (onigiri are key here in Japan), extra layers (down puffer vests are a favourite item amongst guides, as are bamboo thermal layers) and, of course, water in a leak-proof bottle, along with a thermos of tea or soup.
Take care when purchasing the gear for your avi kit. Research beacons to find one that’s worth buying – a decent one will set you back approximately AUD$300-350. Your probe should be at least 3m long, and your shovel should be durable and made of metal. When looking for a backpack, try one that’s specifically designed to carry an avi kit, as it’ll generally have additional features, such as a separate section for your shovel and probe, and an easy-to-access zip into the back panel.
Splitboard
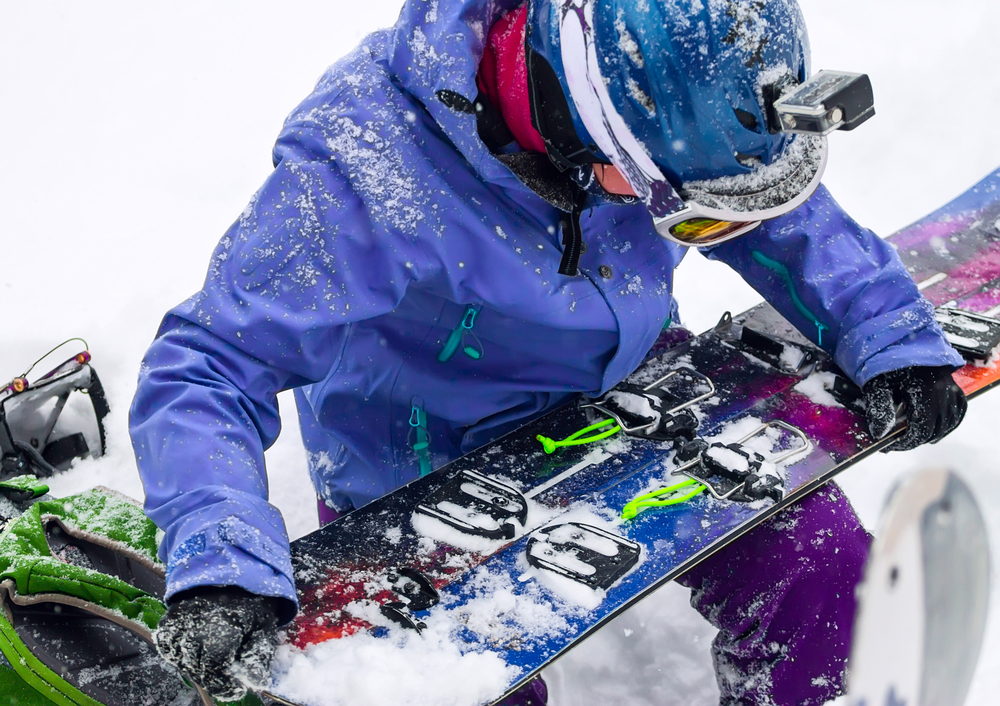
This is the backcountry version of a snowboard – it’s a snowboard that splits in half (hence the name) so that snowboarders can strap in, much like a skier clips into skis, and use them to get up the hill. Once up top, the sides of the board can be clipped back together to allow a boarder to get back down the hill.

There are some killer split boards on the market these days, although they can be a little pricey compared to a regular snowboard. Some split boards can also be used with regular bindings, although splitboard-specific bindings are generally designed to be lighter and have additional features to help with getting uphill.
Keep in mind that you’ll also need to purchase poles with a split board – collapsible poles will help with getting up the mountain, and will clip onto your pack for the way back down.
Touring skis
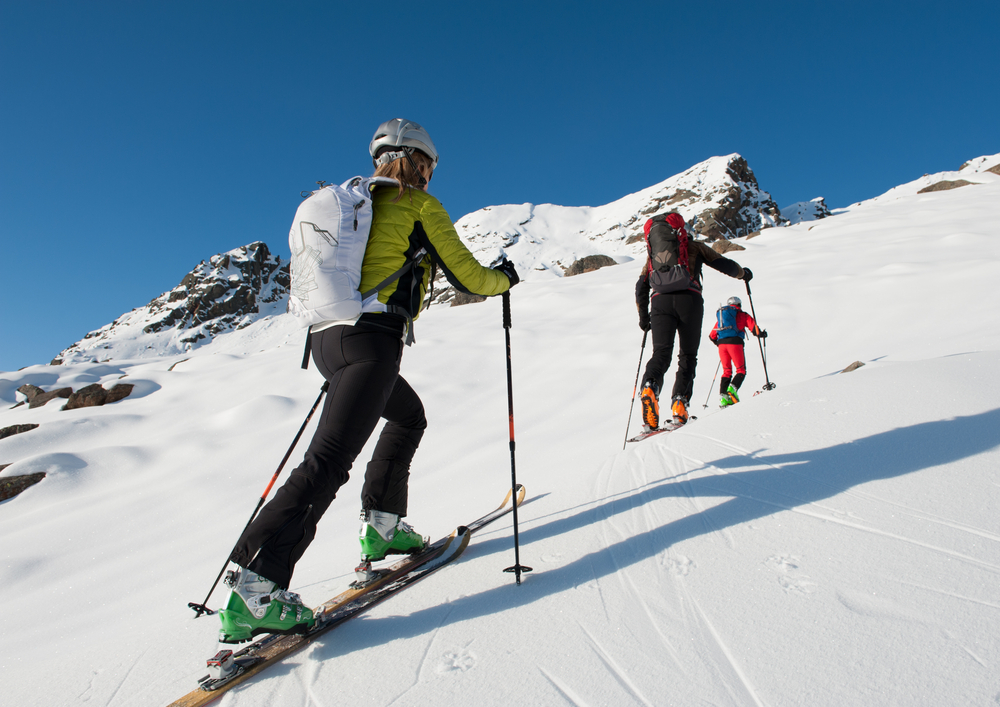
Getting touring skis can be as simple as replacing the current bindings on your regular skis with touring bindings, and getting boots to suit your touring bindings – just be sure to pick a ski that will suit the conditions you’re likely to be skiing.

You can also purchase a set of touring skis that are designed by the manufacturer to be lighter, saving you valuable energy when going uphill.
Skins
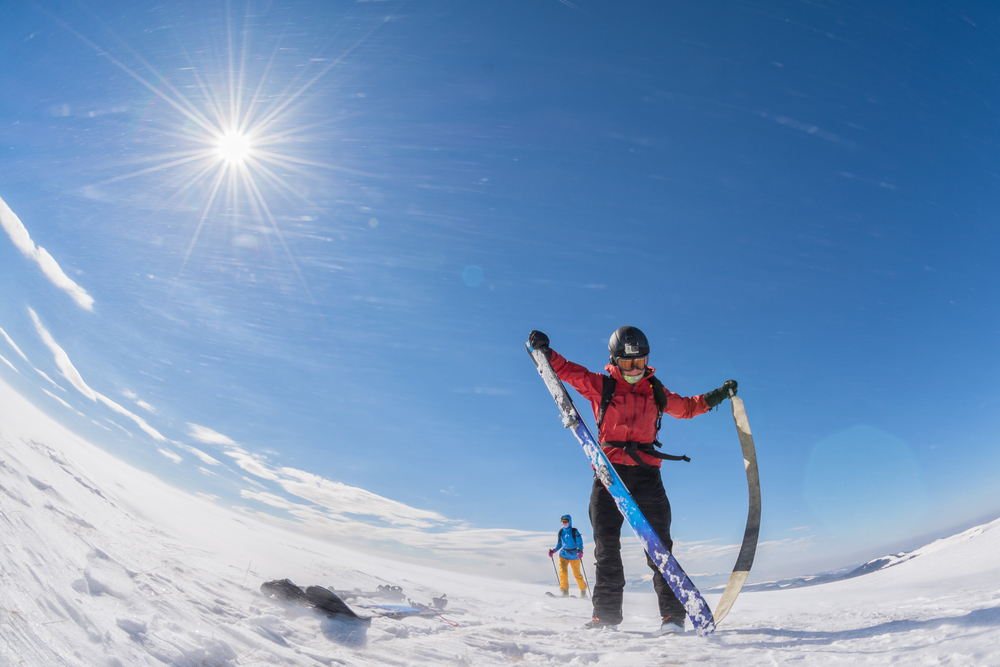
Don’t make the mistake of thinking that people are talking the brand of compression gear when they mention skins. Whether you’re on a split board or touring skis, skins are what you attach to the base of your equipment to give you the traction to get up the hill.

One side is sticky and sticks to your skis or board – this is generally referred to as the ‘glue’. The other side, called the ‘plush’, is covered in tiny hairs that point towards the tail of your equipment, preventing you from sliding back as you take each step up the hill. You can purchase either split board or ski-specific skins and cut them down to size if needed to suit your gear.
Snowshoes
Backcountry snowshoes are a good option for those that can’t quite stretch the budget to afford touring skis or a split board and are happy to hike and carry their skis or board instead. The snow shoes fit under your ski or snowboard boots. You’ll get more of a workout heading up the mountain, and will have to clip your board or skis to your backpack, they also work perfectly well – just be sure to get a pair that’s big enough to handle the powder.
Other essentials
A qualified guide; rope; radios for your crew; sunscreen and sunglasses, if it’s a bluebird day; a way to contact emergency services (blue satellite phone, emergency beacon); a camera or a Go Pro to capture some of your powder moments; and, of course, a companion who also knows what they are doing and knows how to use avalanche gear.
Never underestimate the mountain, never under-prepare and be sure to arm yourself with as much knowledge as possible before you head out of the lift-accessed areas and into the wild.
Do you ski the side backcountry? What are your essential tips for beginners?


