I’m a dead set beginner splitboarder. Having only toured a handful of times, mainly on a recent trip to Japan, I’m in no way claiming to know everything about splitboarding because there is always more to learn.
But I do know that what I’ve learned already will more than help those considering a split board adventure for the first time.
So without further, adieu, take my tips.
Planning the hike
I’m sure you’ve heard the saying “If You Don’t Know, Don’t Go”, well this message couldn’t be anymore clear and with good reason. Splitboarding should be an amazing adventurous experience, not a terrifying traumatic one in which someone gets hurt or even worse, loses their life.
There’s a bit of a mentality out there where people think avalanches are somewhat mystical and won’t happen to them, well, news flash, avalanches don’t discriminate, mother nature can be nasty and unleash her fury when you least expect it.
You only have to read the avalanche accident reports on avalanche.org to see that even people who have avalanche knowledge, wear all the right safety gear and know the mountain like the back of their hand still get caught out.
Touring with safety gear, in my view, is not negotiable.
At a minimum, back country riders should wear a transceiver and carry a backpack containing a probe and shovel and 100 percent know how to use it in the event of an avalanche.
Knowing snow pack activity in the recent weeks and days leading up to the hike is as crucial as heading out with people more experienced than you are. Read the snow reports and look at the avalanche danger before you go. Mitigate as much risk as possible and if that means staying off slopes steeper than 30 degrees because the risk is too high then so be it.
I personally found the Know Before You Go tutorial extremely helpful. This online tutorial taught me a heap about avalanches types and the risk factors to consider. Another great online tutorial is Want To Stay Safe In Avalanche Terrain.
But nothing beats an actual avalanche awareness course. Do one here in Australia, in New Zealand or in the northern hemisphere on your next holiday.
Planning a pathway up the mountain in advance is also a must. The hike takes a long time and you don’t want to expose yourself to avalanche terrain if there is another option. The FATMAPS app is very helpful as it shows the mountain in 3D with lots of handy tools including aspect and steepness shading.
All the gear…
In most cases you will drive to your destination and set up next to the car. Then separate your board (or skis), put your skins on and skin up. The skins are very very sticky, its helpful to have someone to help you pull them apart and hold them while you line them up nicely along the ski, being a beginner I would have struggled if I didn’t have someone to help me with this bit.
My husband and I chose to purchase avalanche air bag backpack. The airbags can be activated if in an avalanche and keep you on the surface. These bags are fairly big already and we then had to fit our jacket, goggles, gloves (because it’s too hot to hike wearing these items), shovel, probe, water and snacks.
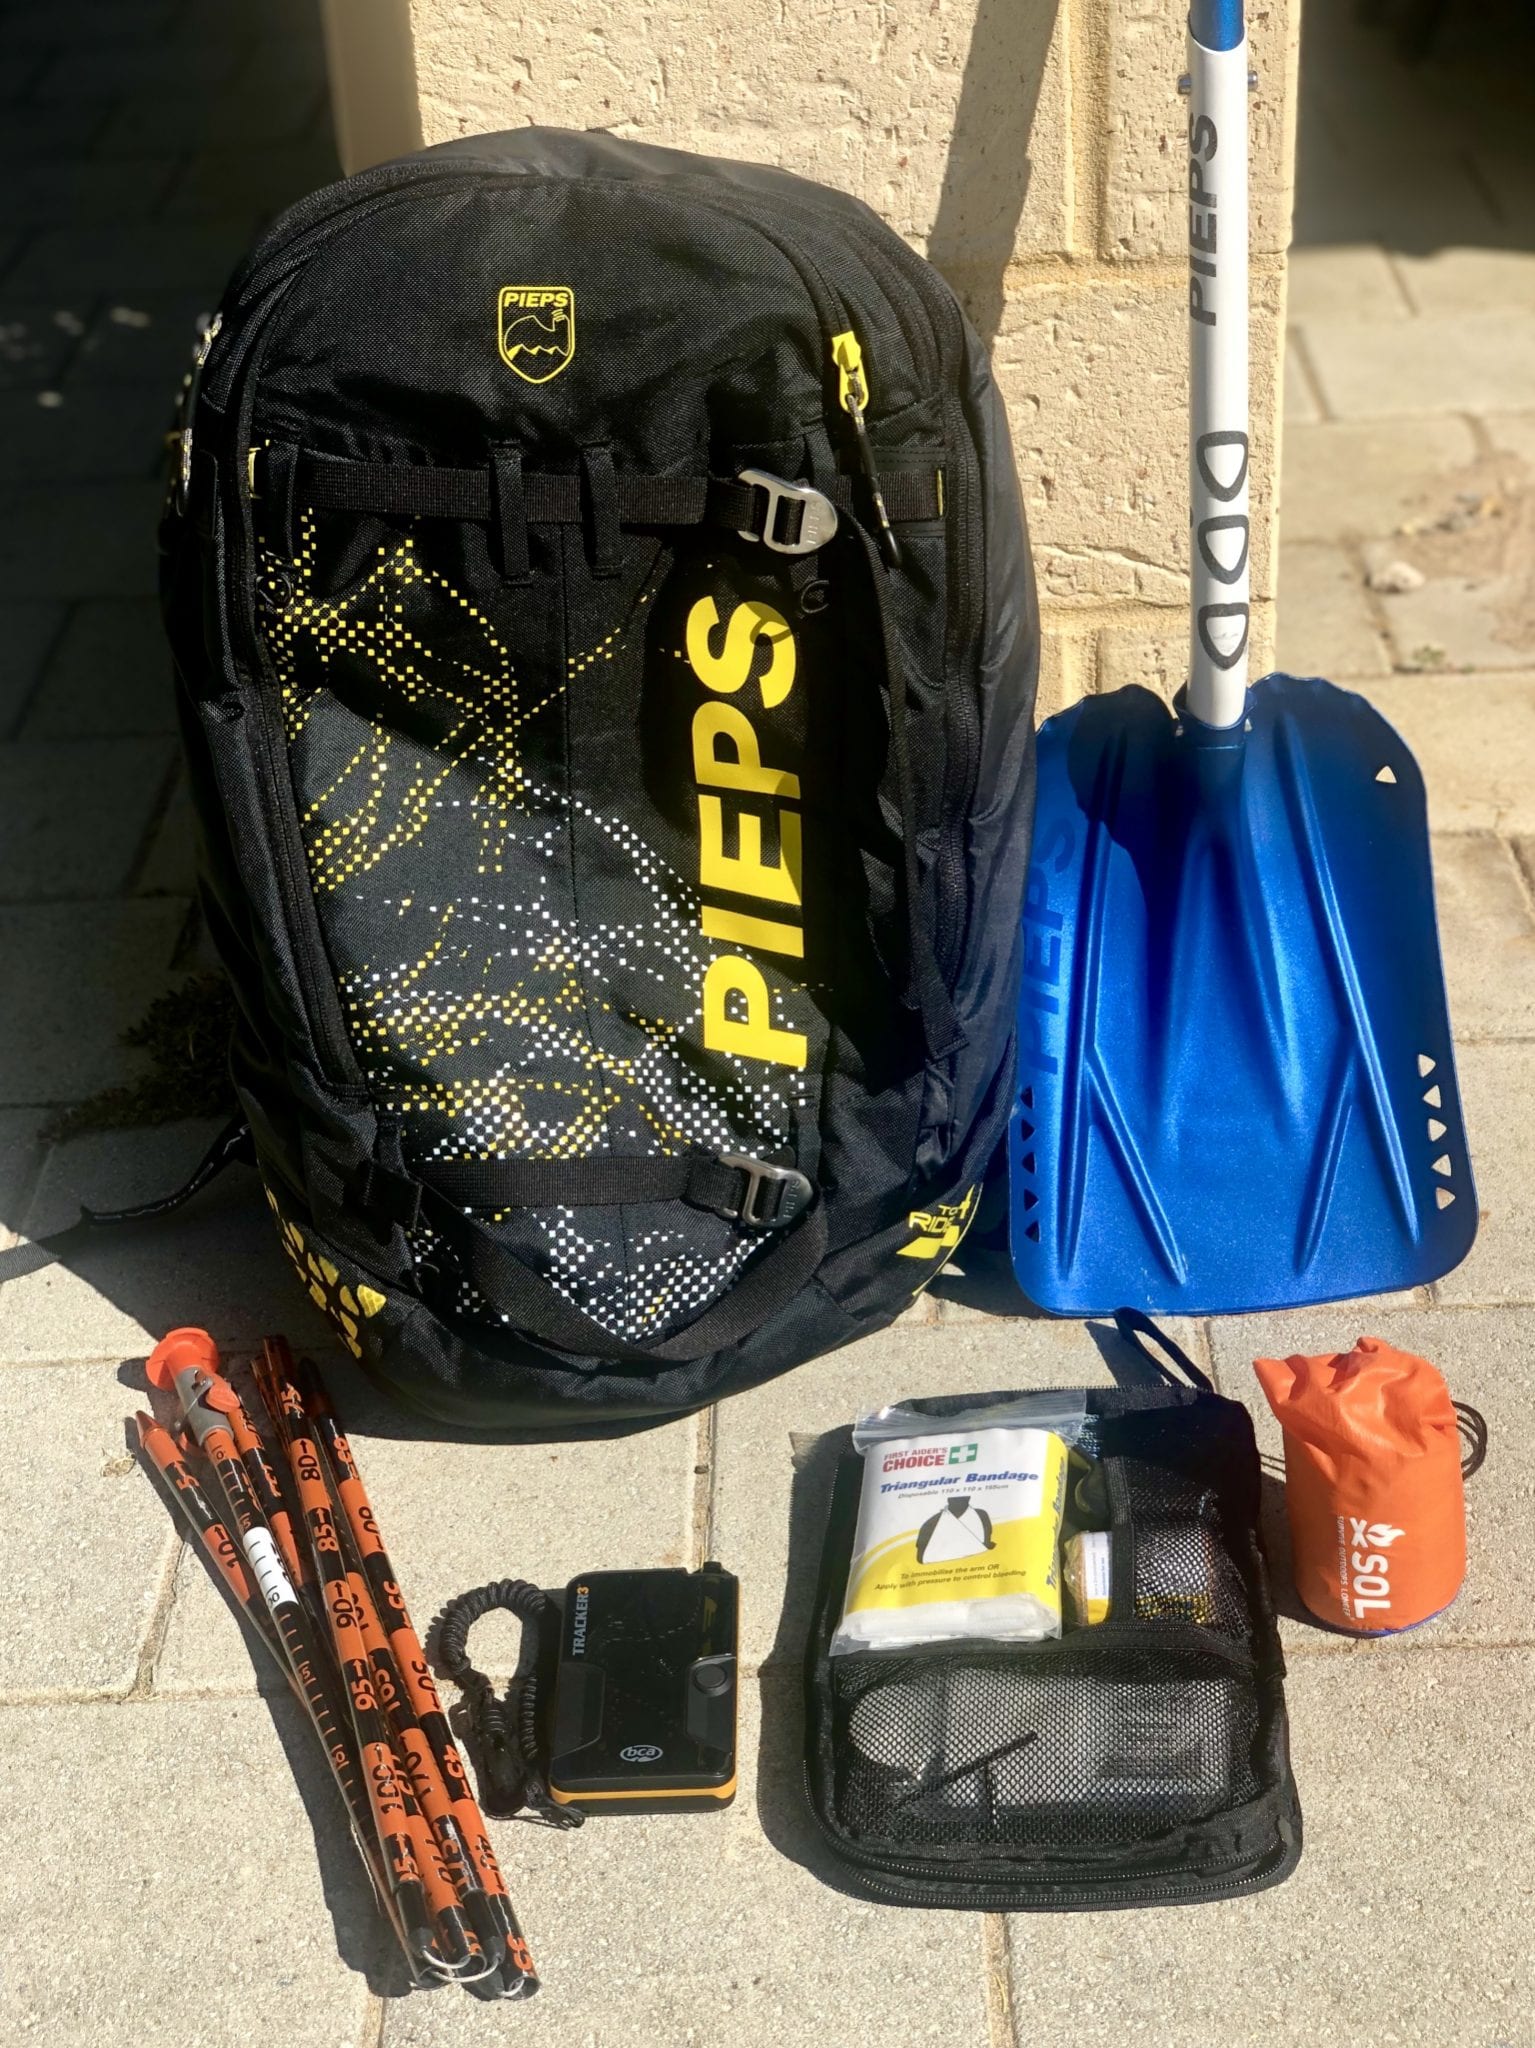
The bag was huge on me and I did wonder if it would affect my balance when riding but it didn’t, except if I had a fall and had to get back up (think of a turtle). It does help if the straps are done up nice and tight and if the bottom belt strap sits firmly on your hips to take most of the load.
Before setting off we made sure our avalanche transceivers and avalanche backpacks were on and working.
The uphill
Not going to lie, I find this part the hardest, but there are things that can help you soldier onwards and upwards.
Music – A friend of mine strapped a small speaker to the outside of his backpack and cranked some good tunes. This was the best distraction and provided motivation at the times it was lacking.
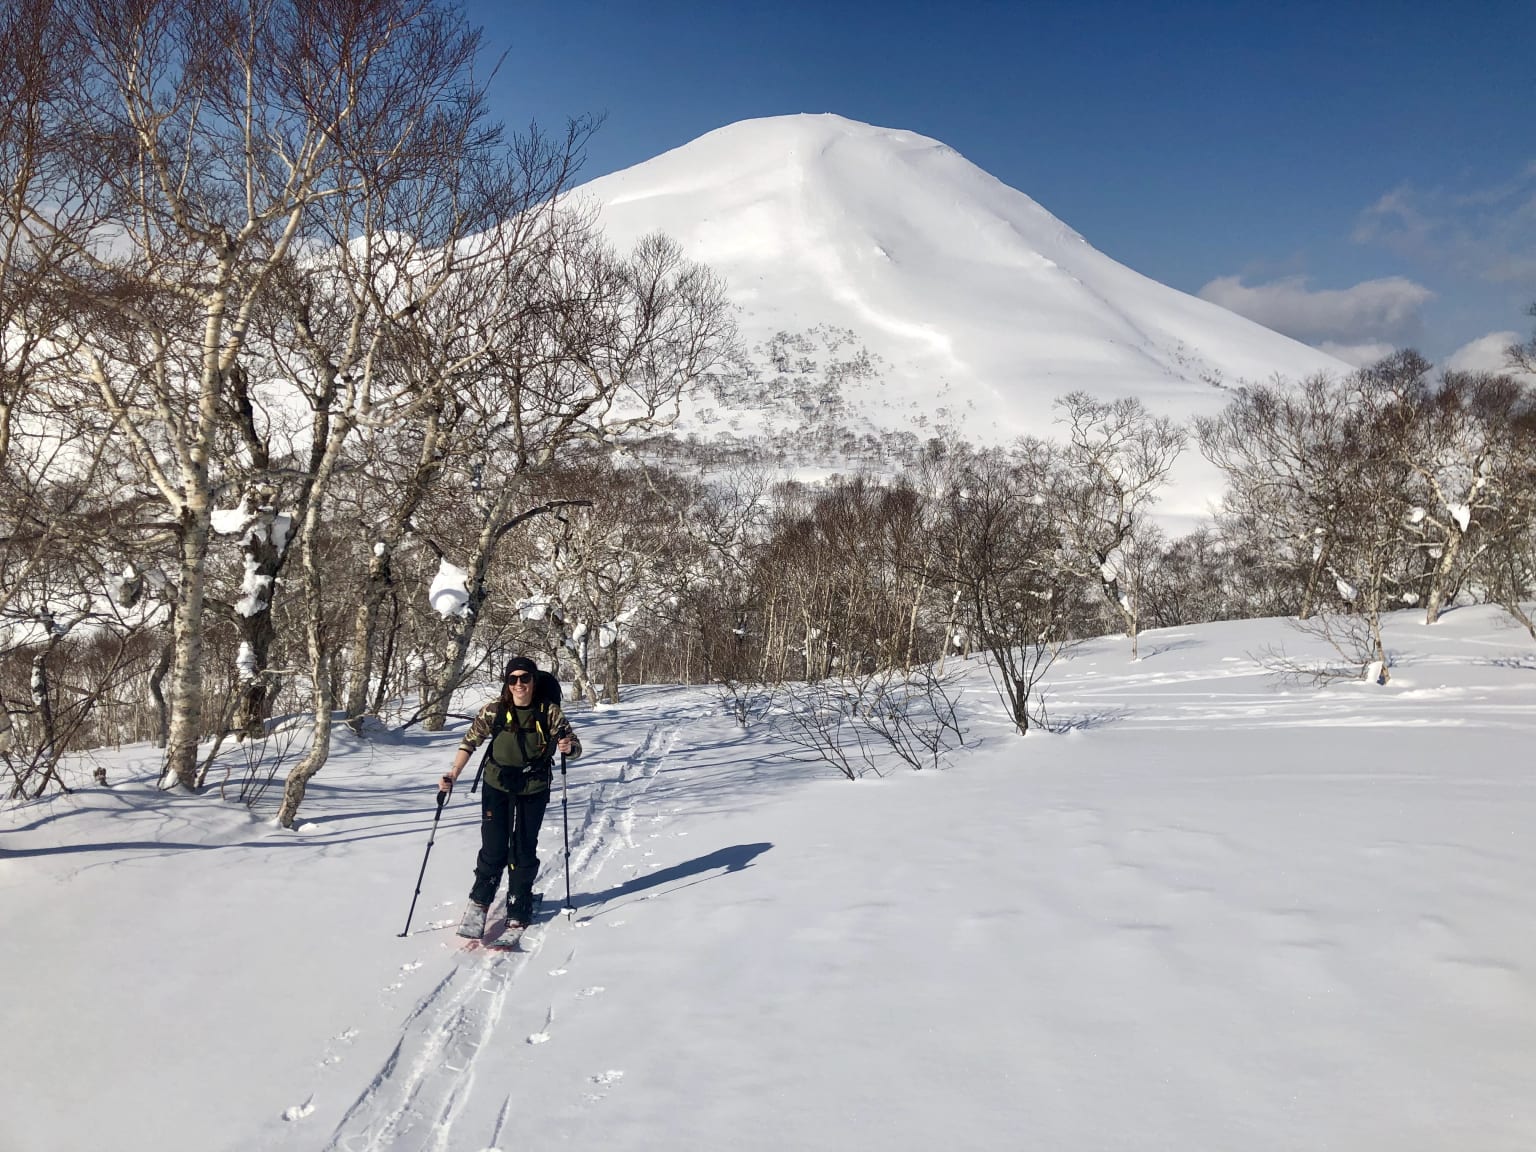
Looking at the scenery – This helped remind me why I was doing the climb and that it would be worth it. I couldn’t help but smile and be happy being surrounded by beautiful mountains with the sun beaming down.
Actually using the ski poles – I was able to move through the snow a lot quicker when I learnt to actually use and lean on my ski poles. This helped balance me and made me feel more confident especially when performing a kick turn to change direction.
Watching a “How To Kick Turn” tutorial prior to the hike – As a snowboarder not accustomed to skis at all, kick turning was difficult.
Communicating – Keep checking in with your fellow hiking buddies, make sure everyone is still ok and happy with the chosen route. Make sure everyone has a say. Often we just go along with the majority but it’s important to hear everyone’s opinion and observation especially if the route needs to change. Don’t just assume the whole group is on the same page, check and check again. This is also a must on the way down, you end up a long way apart, a phone or two-way radio is a must.
Wearing sunglasses – On a bluebird day the hike will be blinding as the sun reflects off the snow and burns through your eyeballs. Wear sunglasses and not goggles because goggles will fog up and then you wont be able to see a thing on the ride down.
Have your usual snowboard gloves in your bag – I was a drastic temperature change once at the top, I went from being super hot to freezing within the space of a minute, my fingers were so cold that I could barely use them. I was wearing inners for the hike but next time I would put my gloves on earlier to ensure my hands were warm and useable.
Peaking
Ah, such a relief, all that hard work is finally worth it when you stop to take in the amazing view.
The downhill
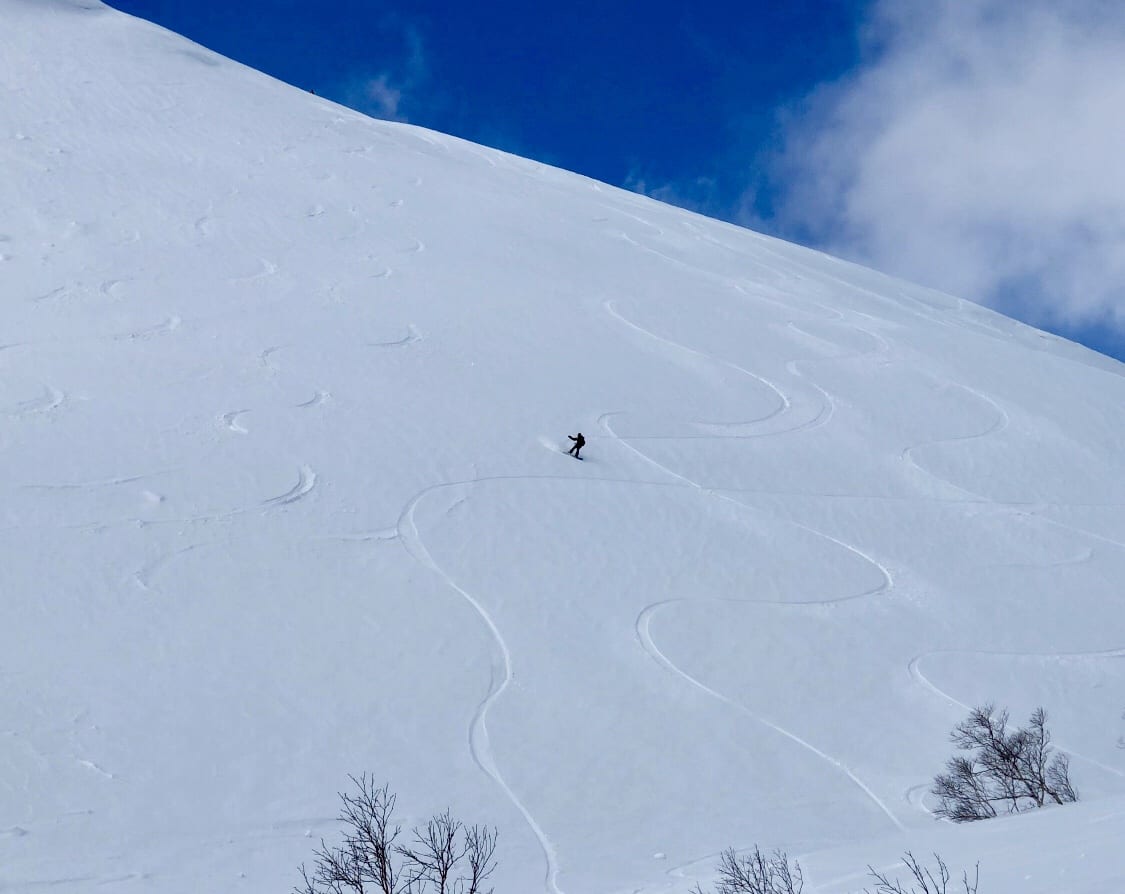
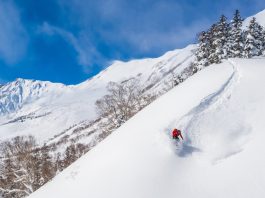
Now for the fun. Enjoy the downhill ride, staying in safe terrain and skiing/riding a good distance apart when required.
The stoke
The first time I went splitboarding I was left with a long lasting kind of stoke, for at least the next eight hours we were all still smiling, laughing and debriefing. Splitboarding not only gave me access to stunning views and the opportunity to explore and appreciate different terrain but it encouraged me to be fully present and appreciative of many things, my surroundings, the people I was with and the fact that I was healthy and able to complete the hike and have the ride of my life on the way down.
If you’re keen, get out there and give it a go (safely of course). As the master himself, Mr Jeremy Jones said “Life is too short to ride the same face twice”.
